
The Sound Revolver
Code will be made available soon!
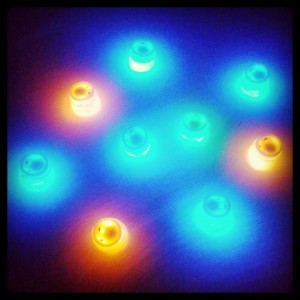
The Sound Revolver (SR) is a table top where differently coloured “nodes” sit. A camera sitting under the table sends off the videostream to a computer which then detects the colours and creates links. There are only two colours involved, yellow and blue, which pair with each other. The yellow nodes have an orbiting circle which plays tones when the circle touches a yellow-blue node link.
This project was partly influenced by the Reactable, a neat surface where you can build a synthesizer by placing different blocks. I got the node idea from playing with Nodebeat, an fun app that uses different nodes to make music.
Software
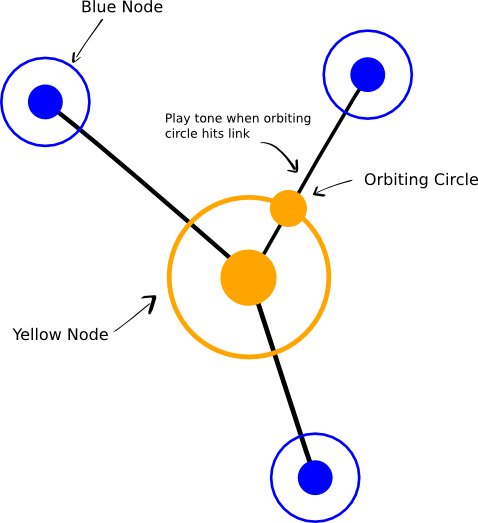
Overview of node functionality
Hardware
[Table] There isn’t a whole lot for hardware in this project. The tabletop is a 3.5″x2.5″ 1/8″ thick sheet of plexiglass with a sheet of paper on the top to diffuse ambient light. There are also drapes wrapped around the legs to block more stray light that might interfere with the colour detection.
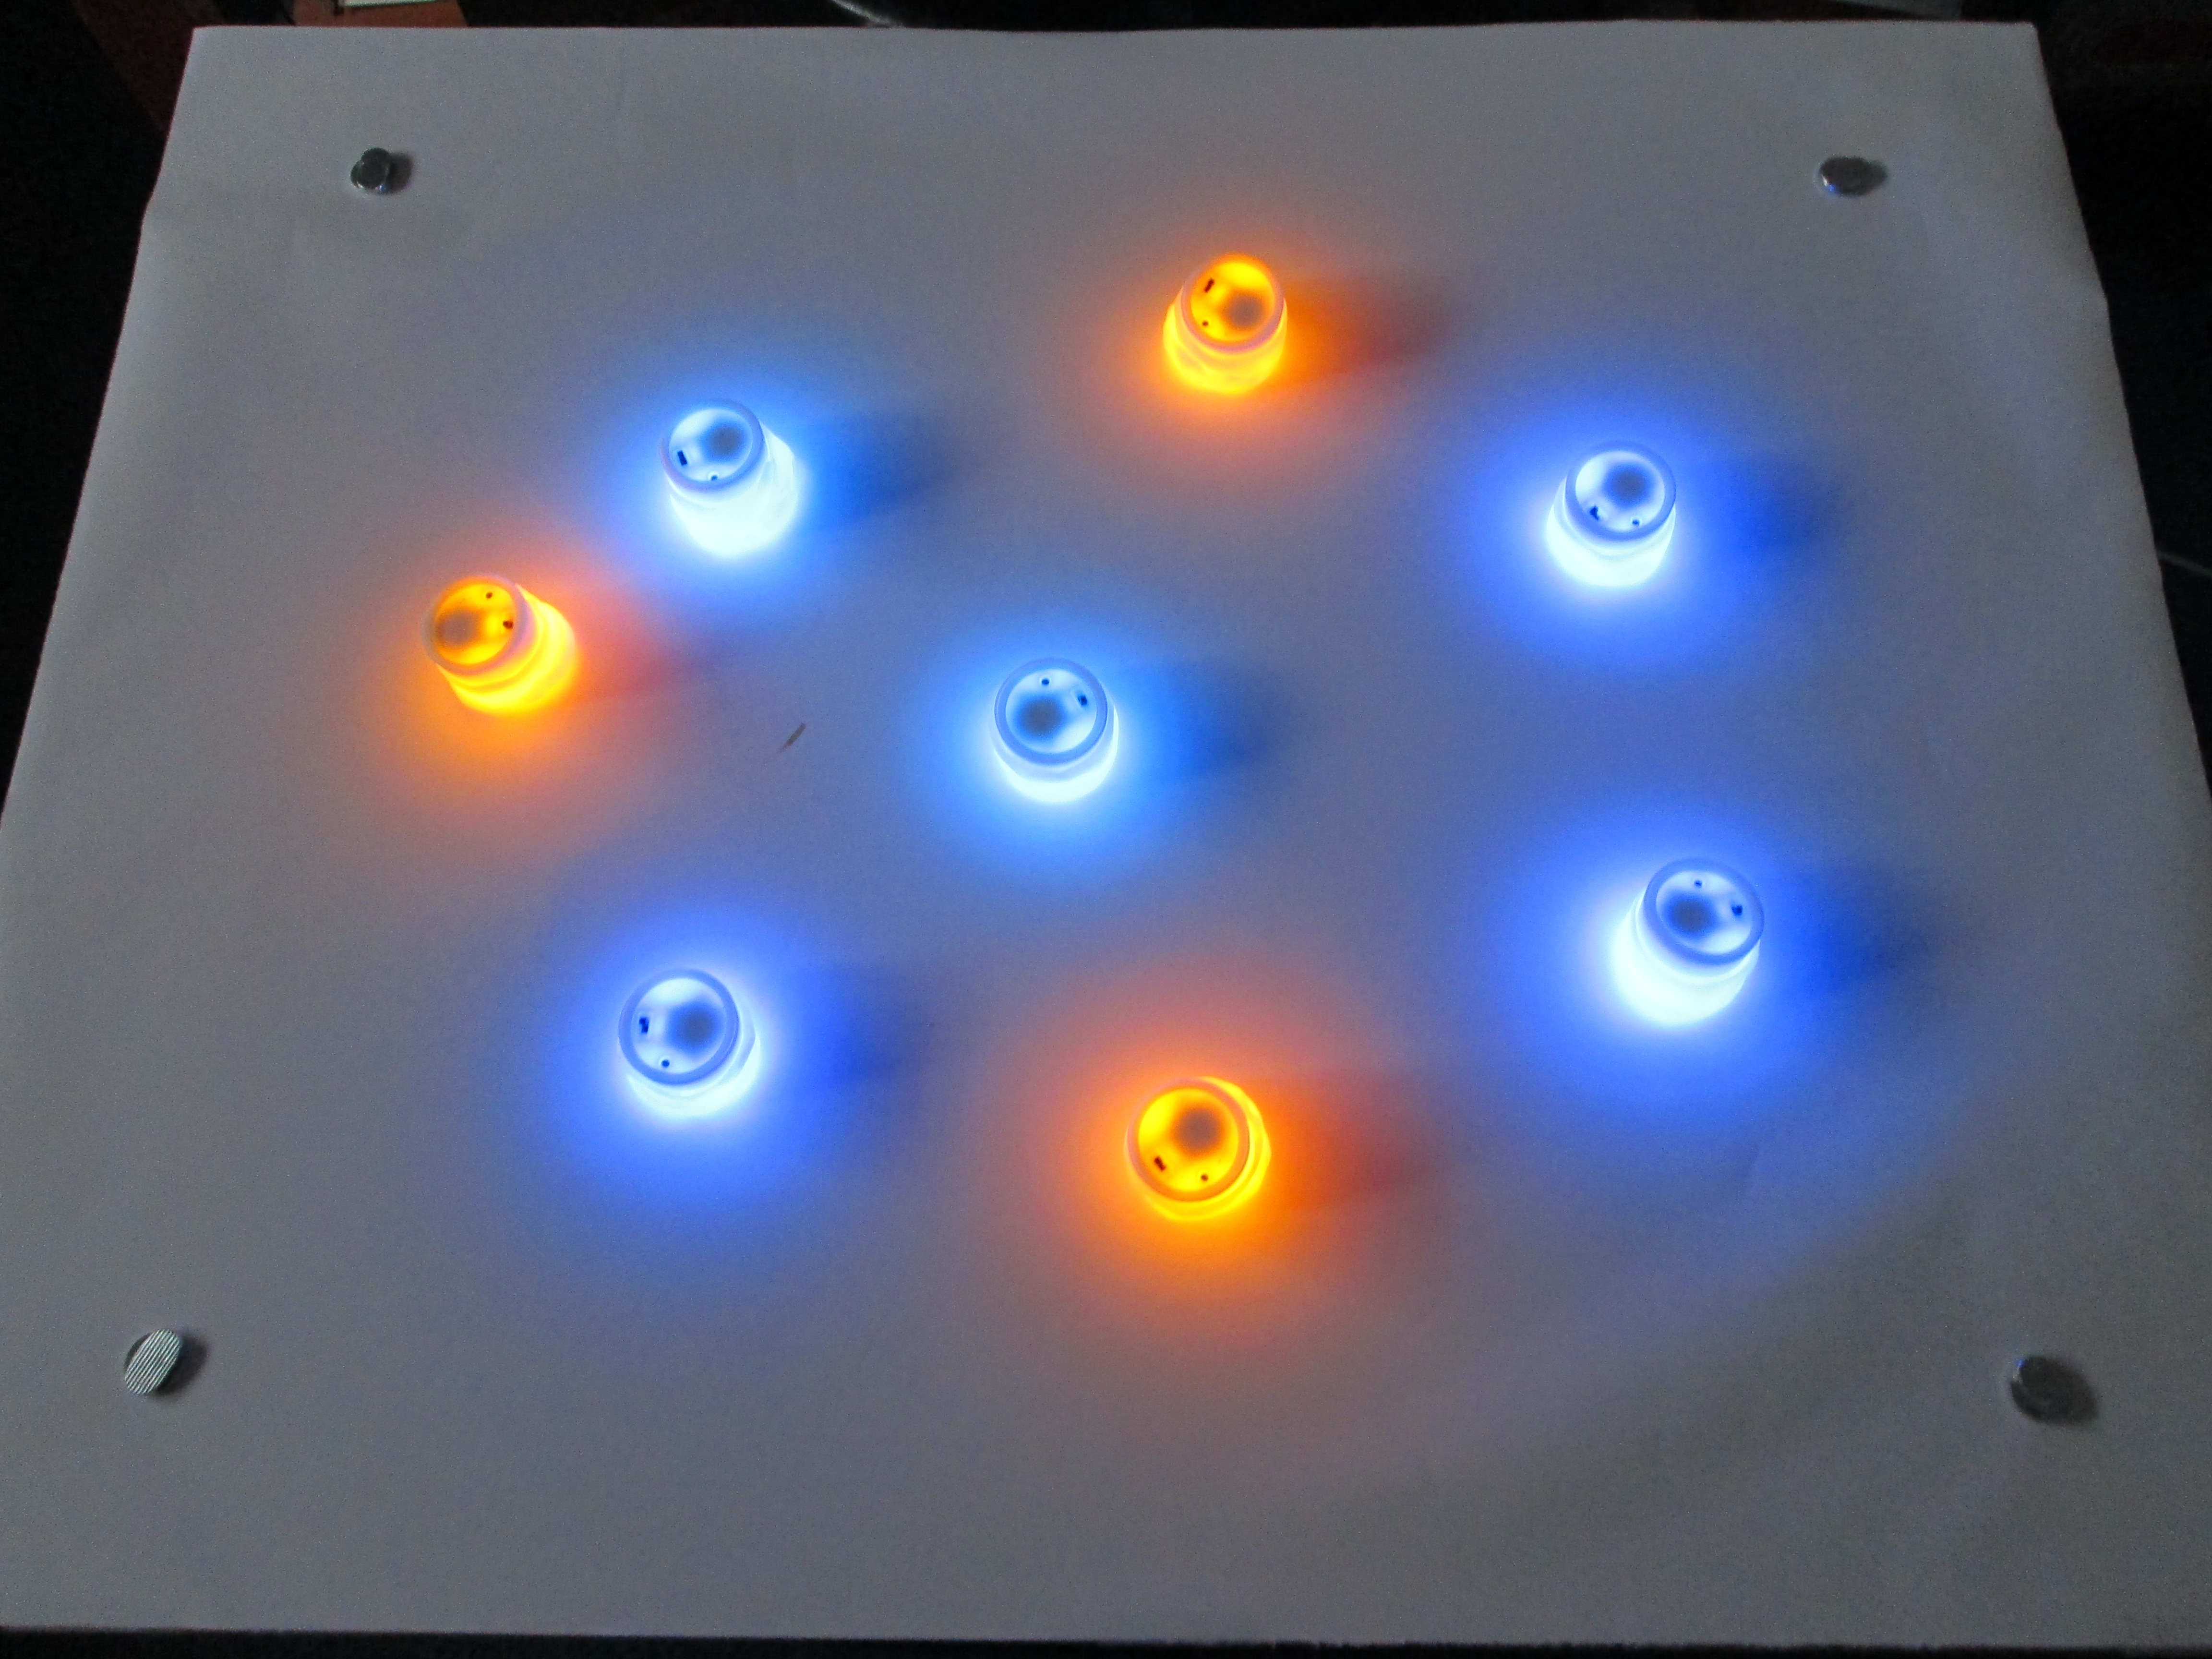
Tabletop view
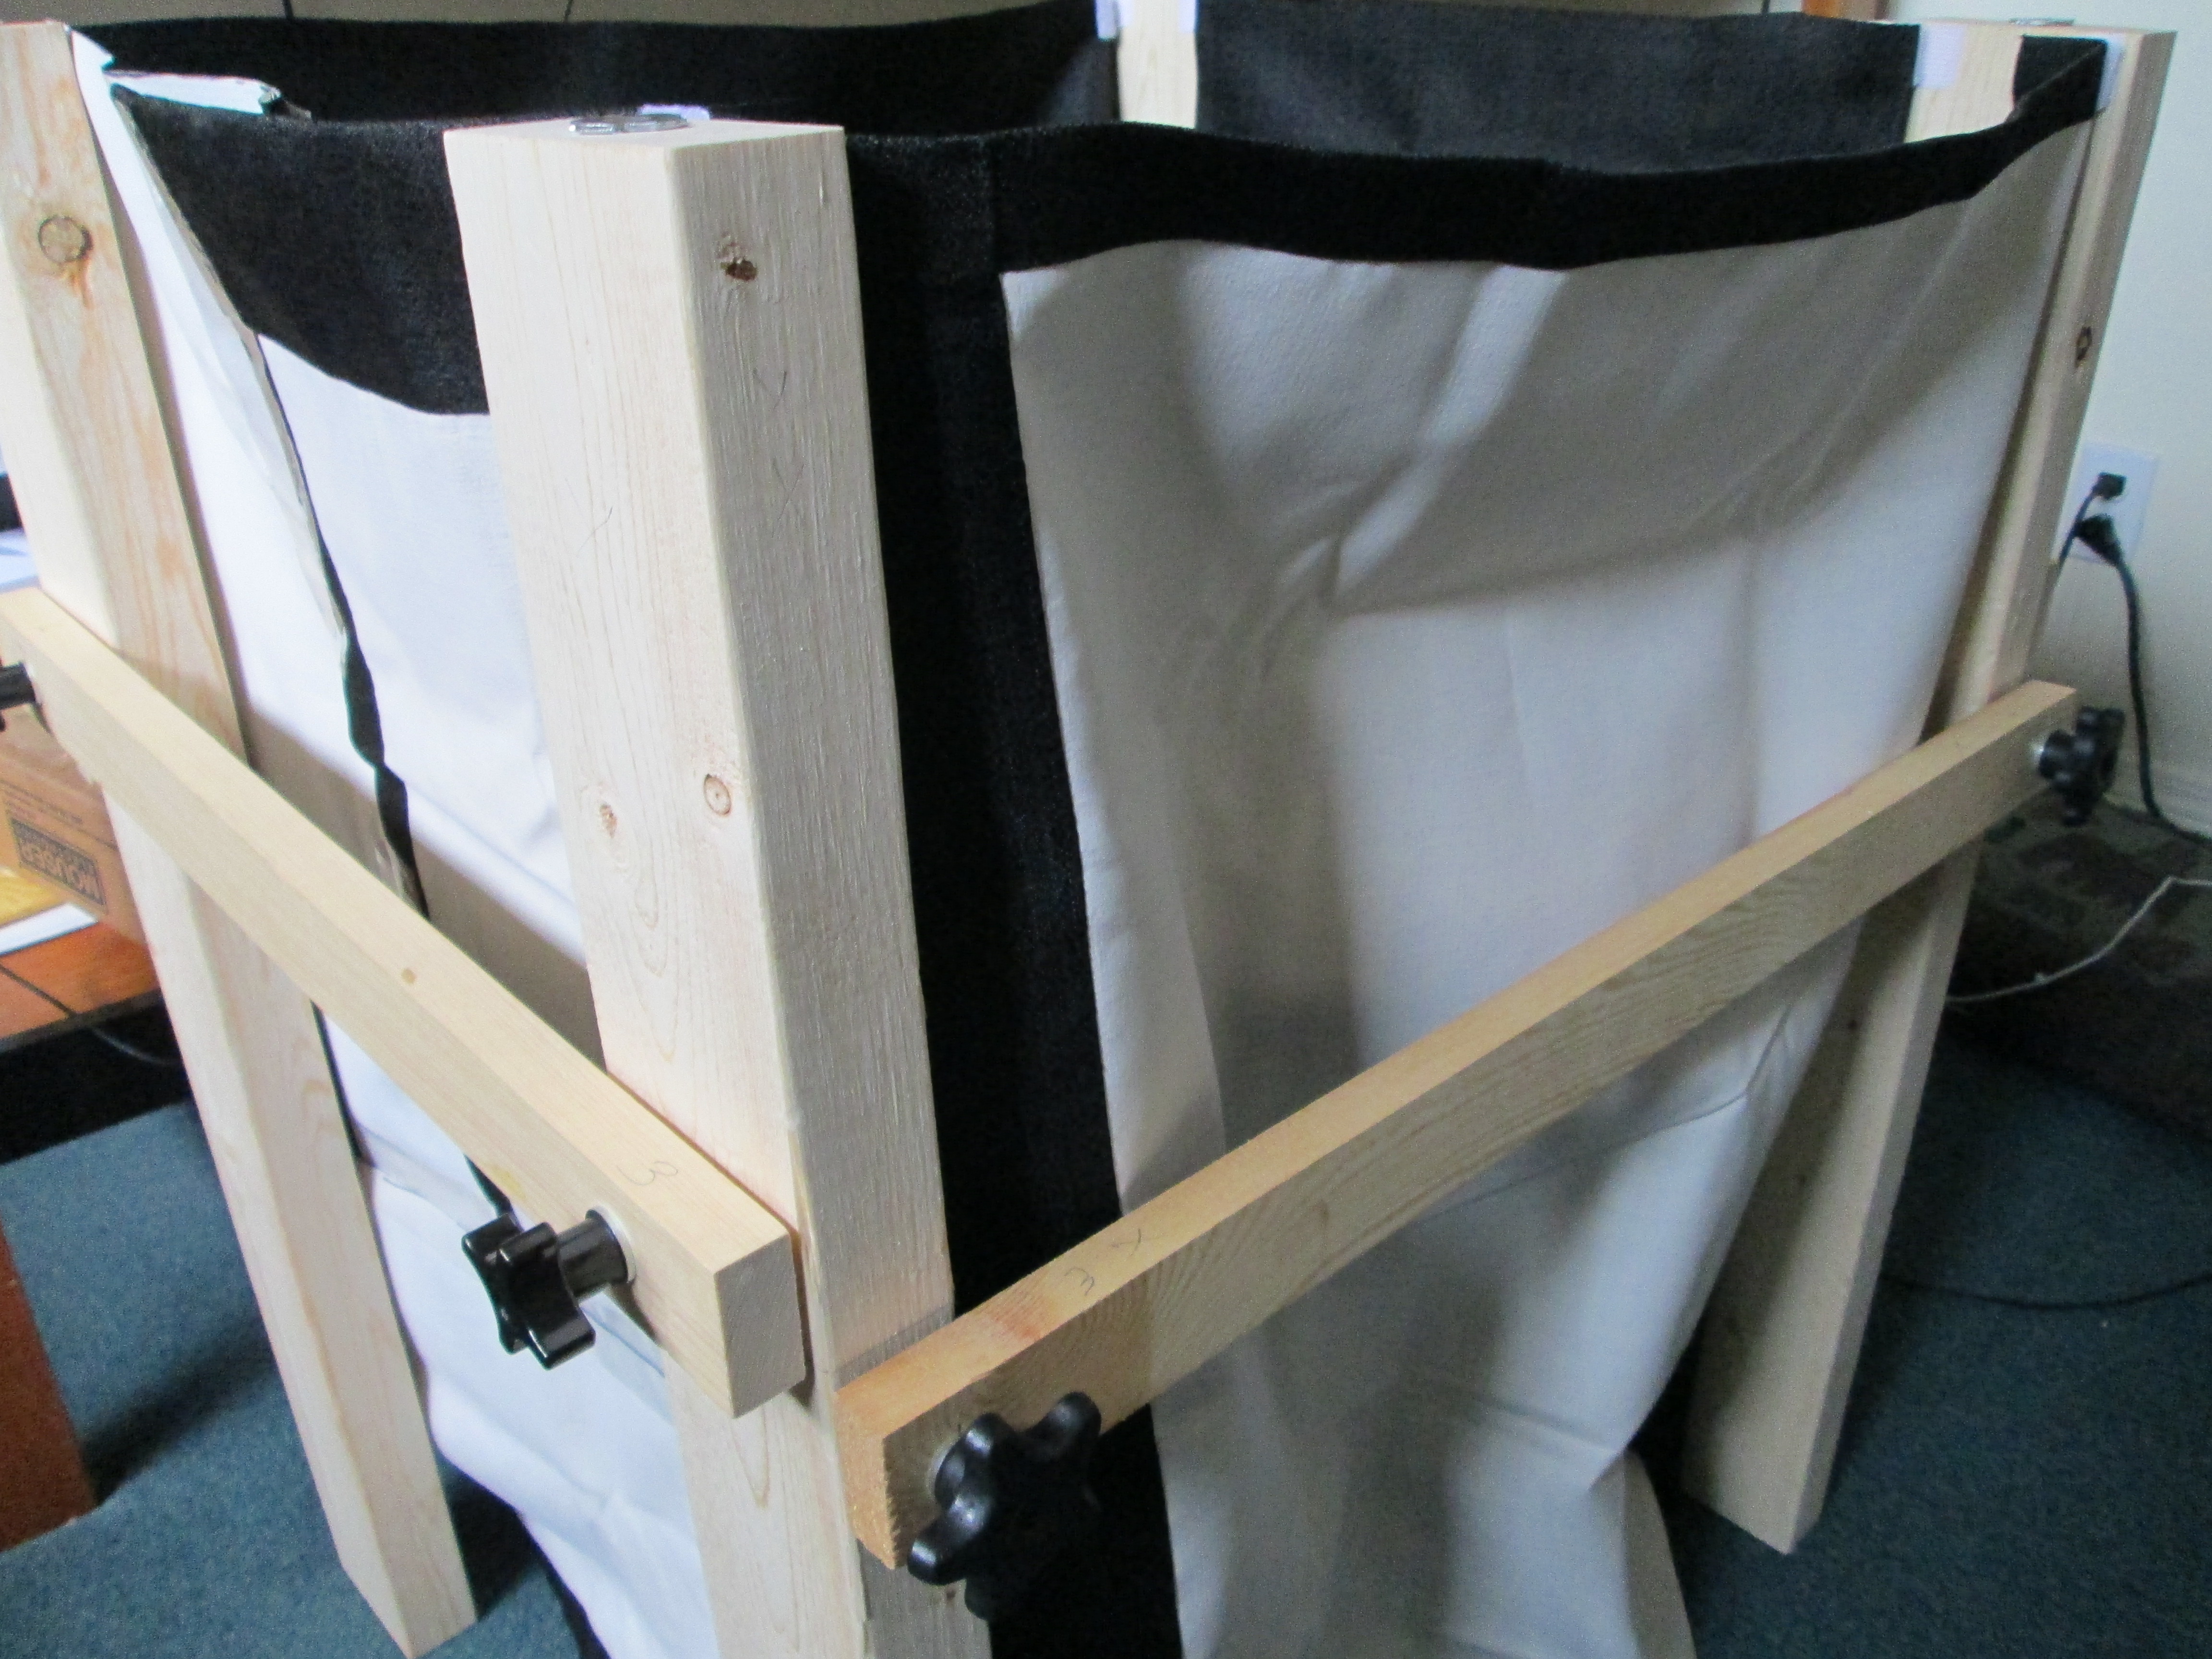
Table legs

Looking down at the camera

Melting polymorph
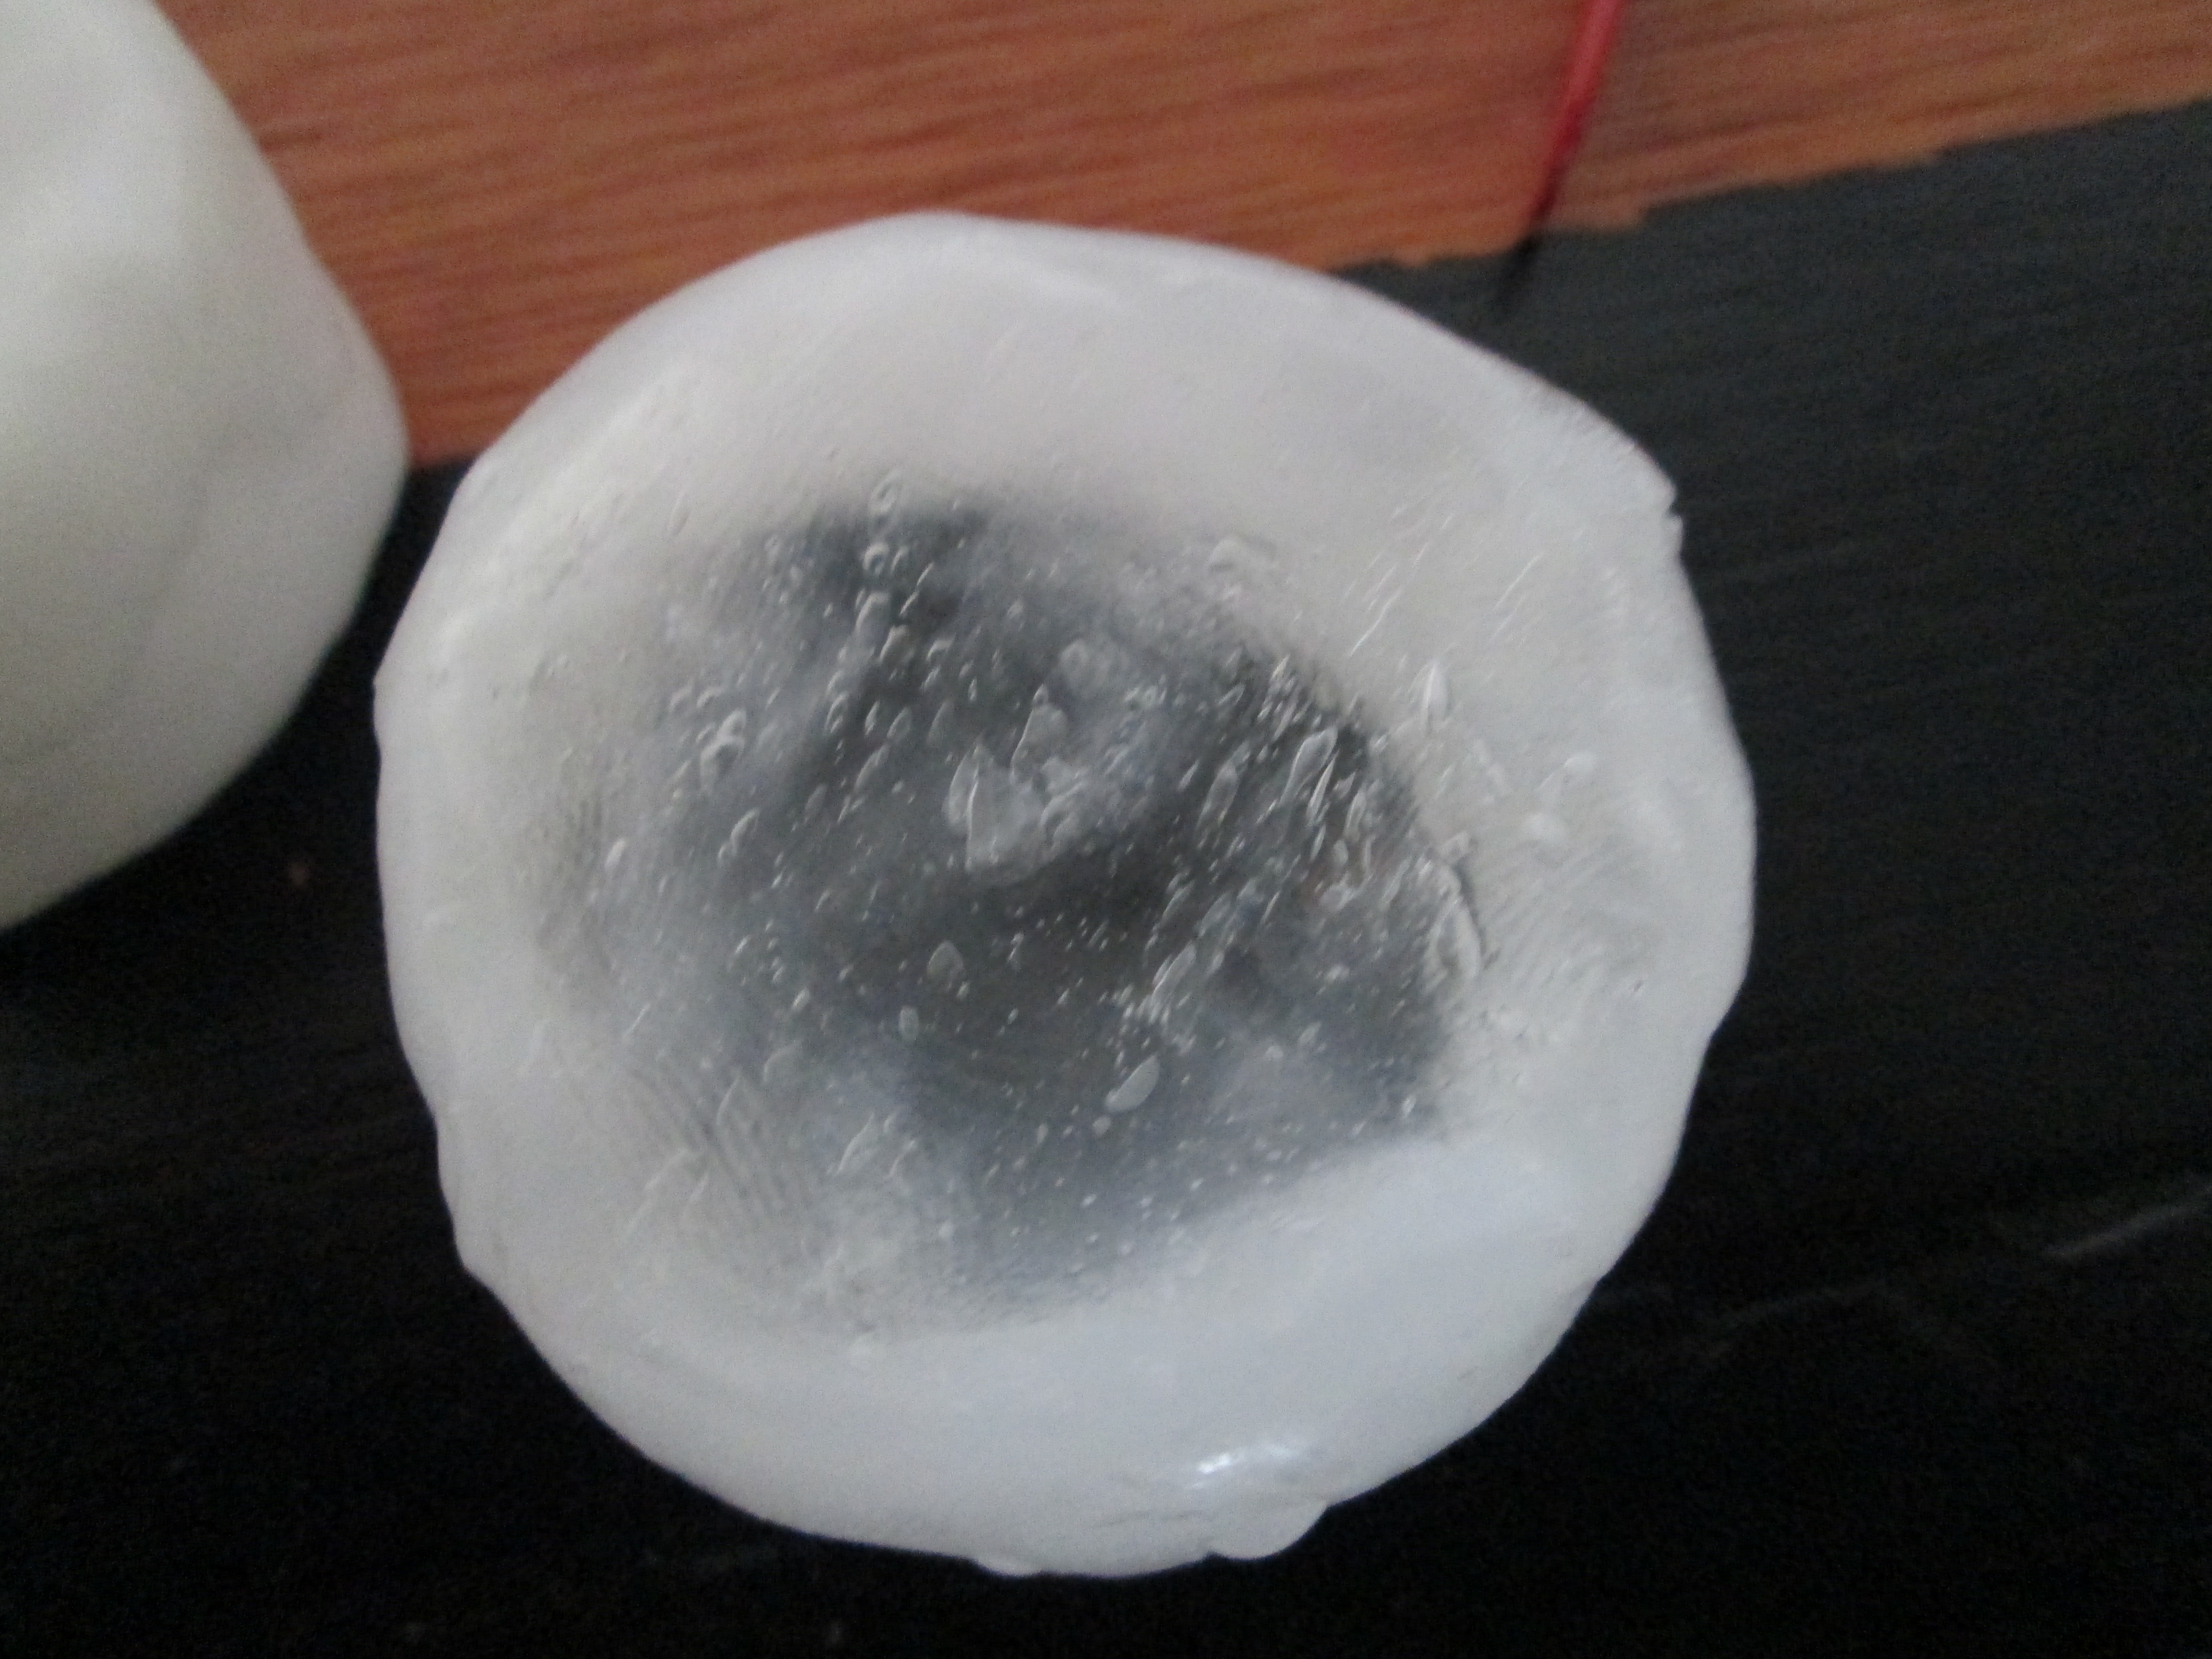
Polymorph hardening
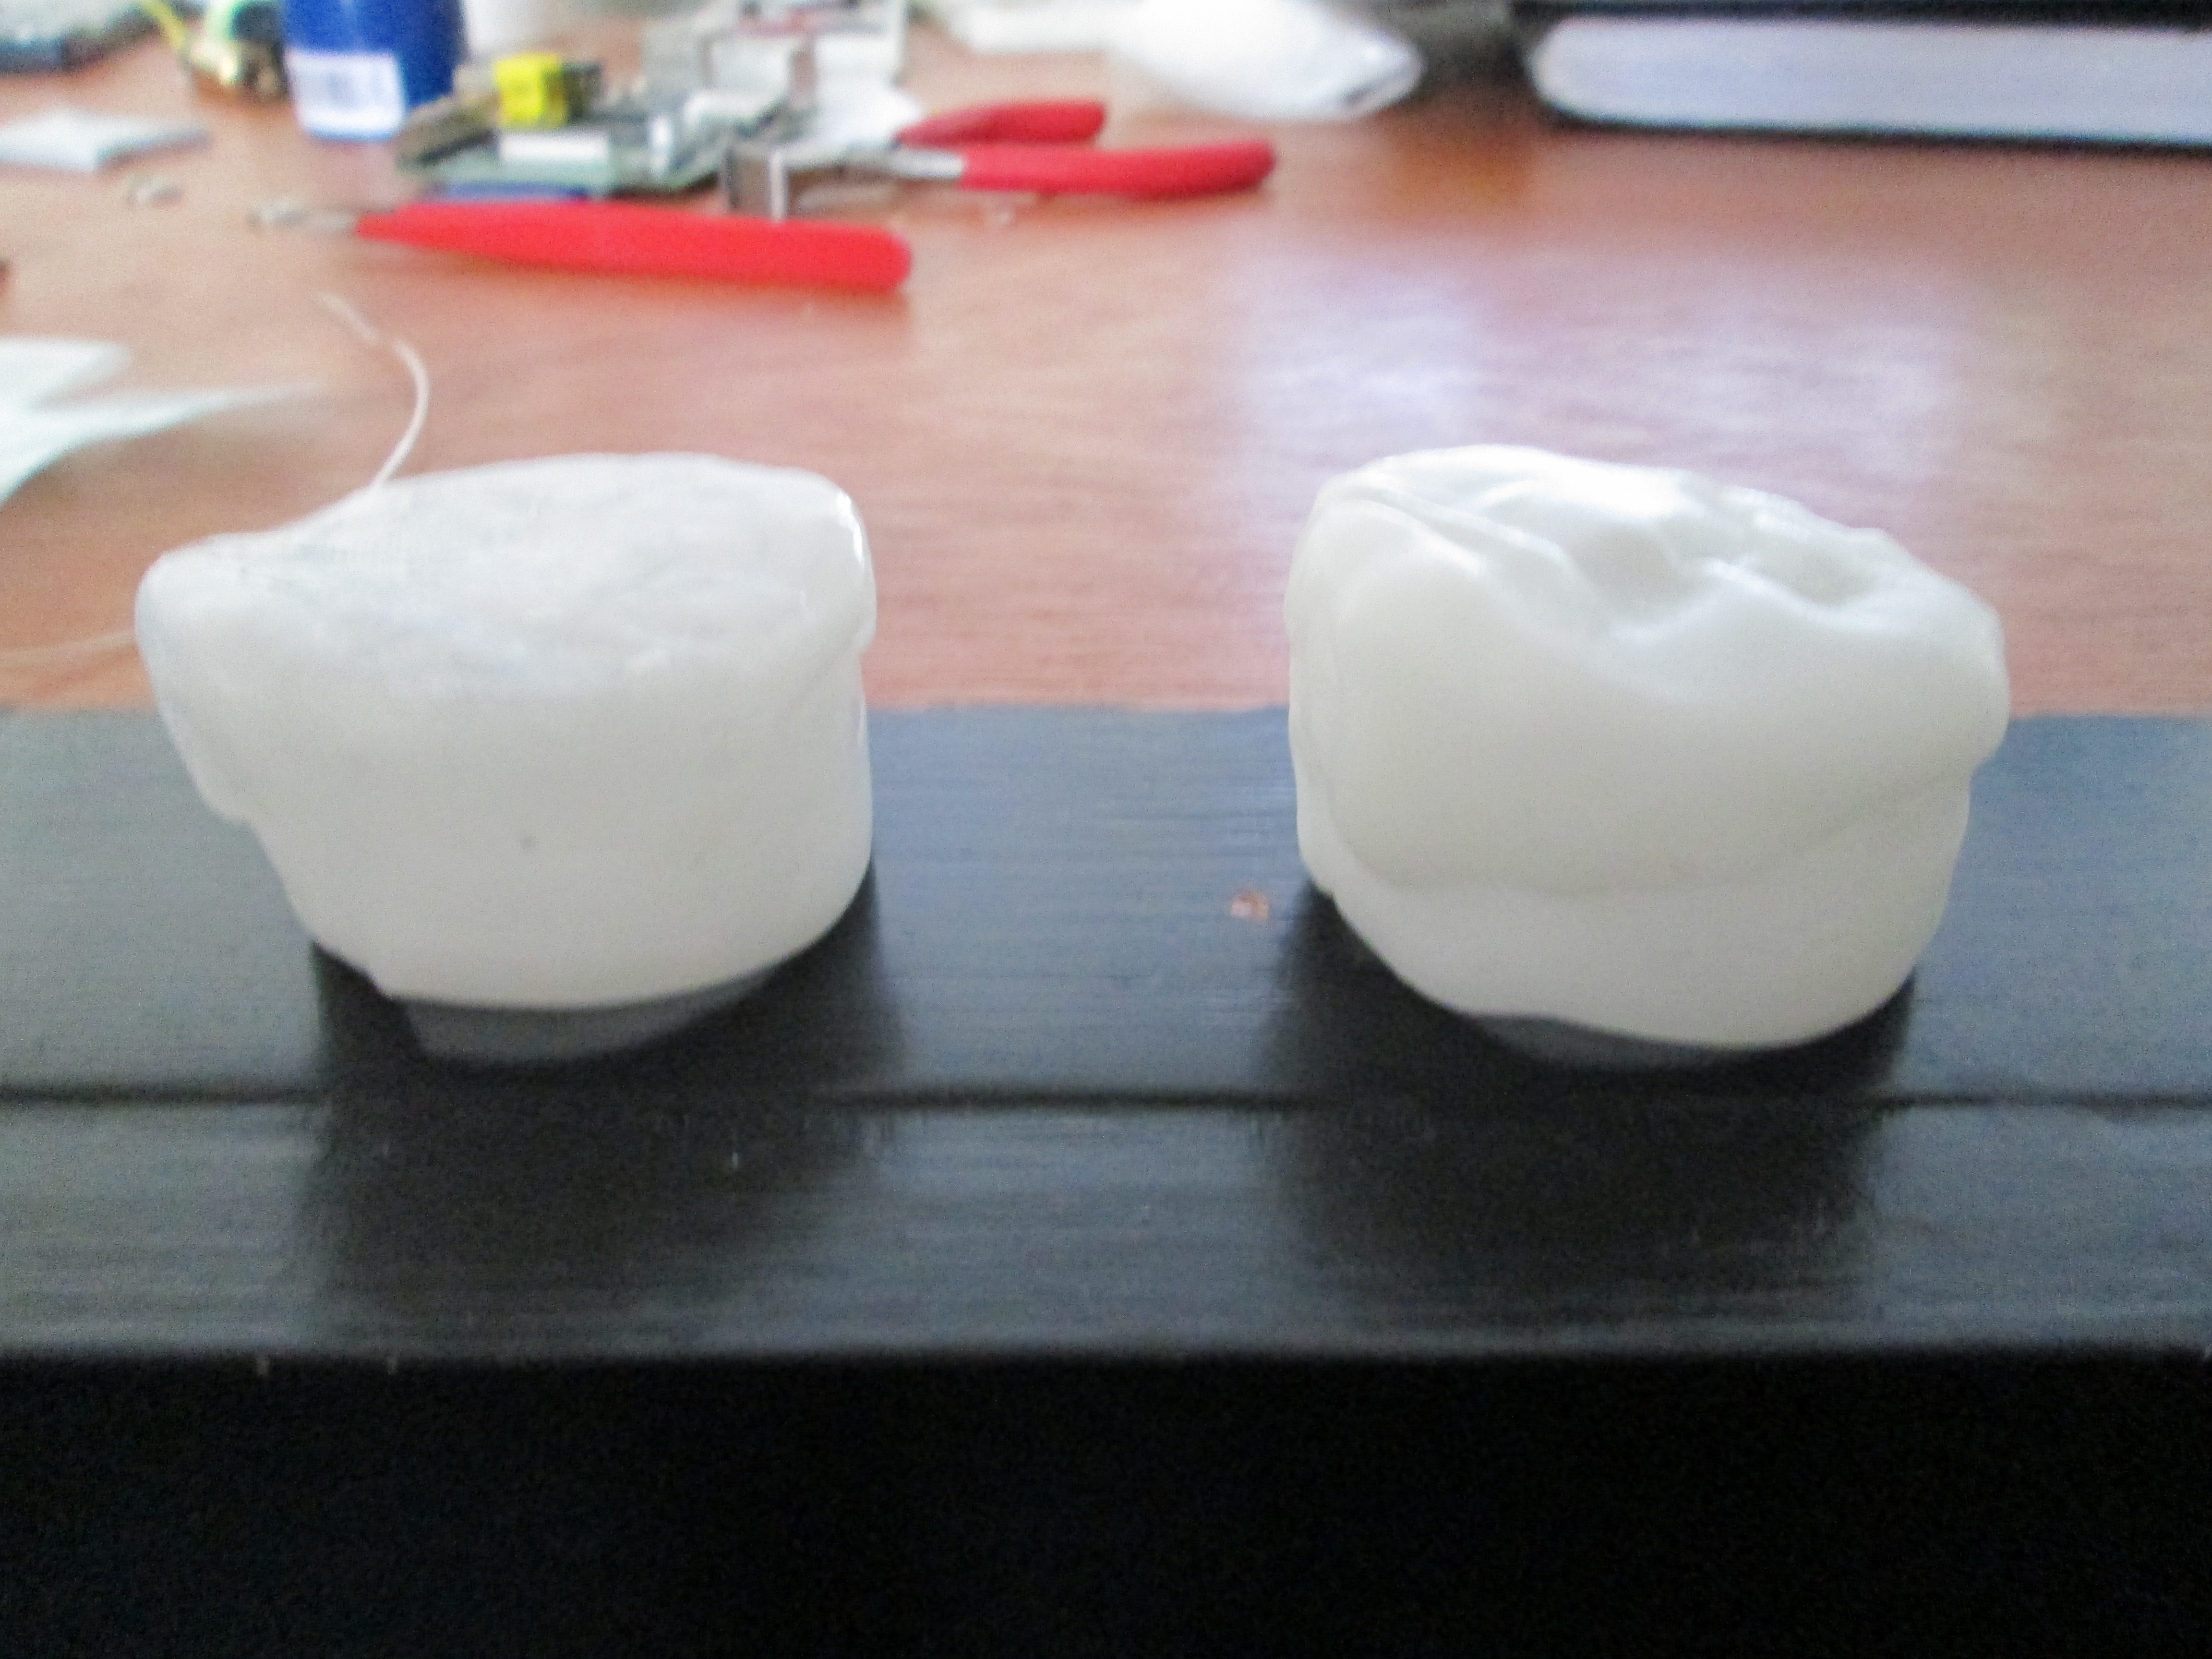
Nodes ready for use!
Debugging
No project is ever complete without some debugging. Most “debugging” was actually trying to find suitable hue values for the nodes so that colour detection would work well. I used this handy program to find hue values for the two colours. Changing light conditions didn’t present too much of a problem since the nodes were a (almost) constant source of light. When the batteries in the nodes were low however, the dimmer LED would cause problems for colour detection.
I originally started out using red LEDs but found that the light “spread” throughout the table so much that the program would start to detect red nodes where there weren’t any. The red colour was also much more finicky in changing light than yellow was.
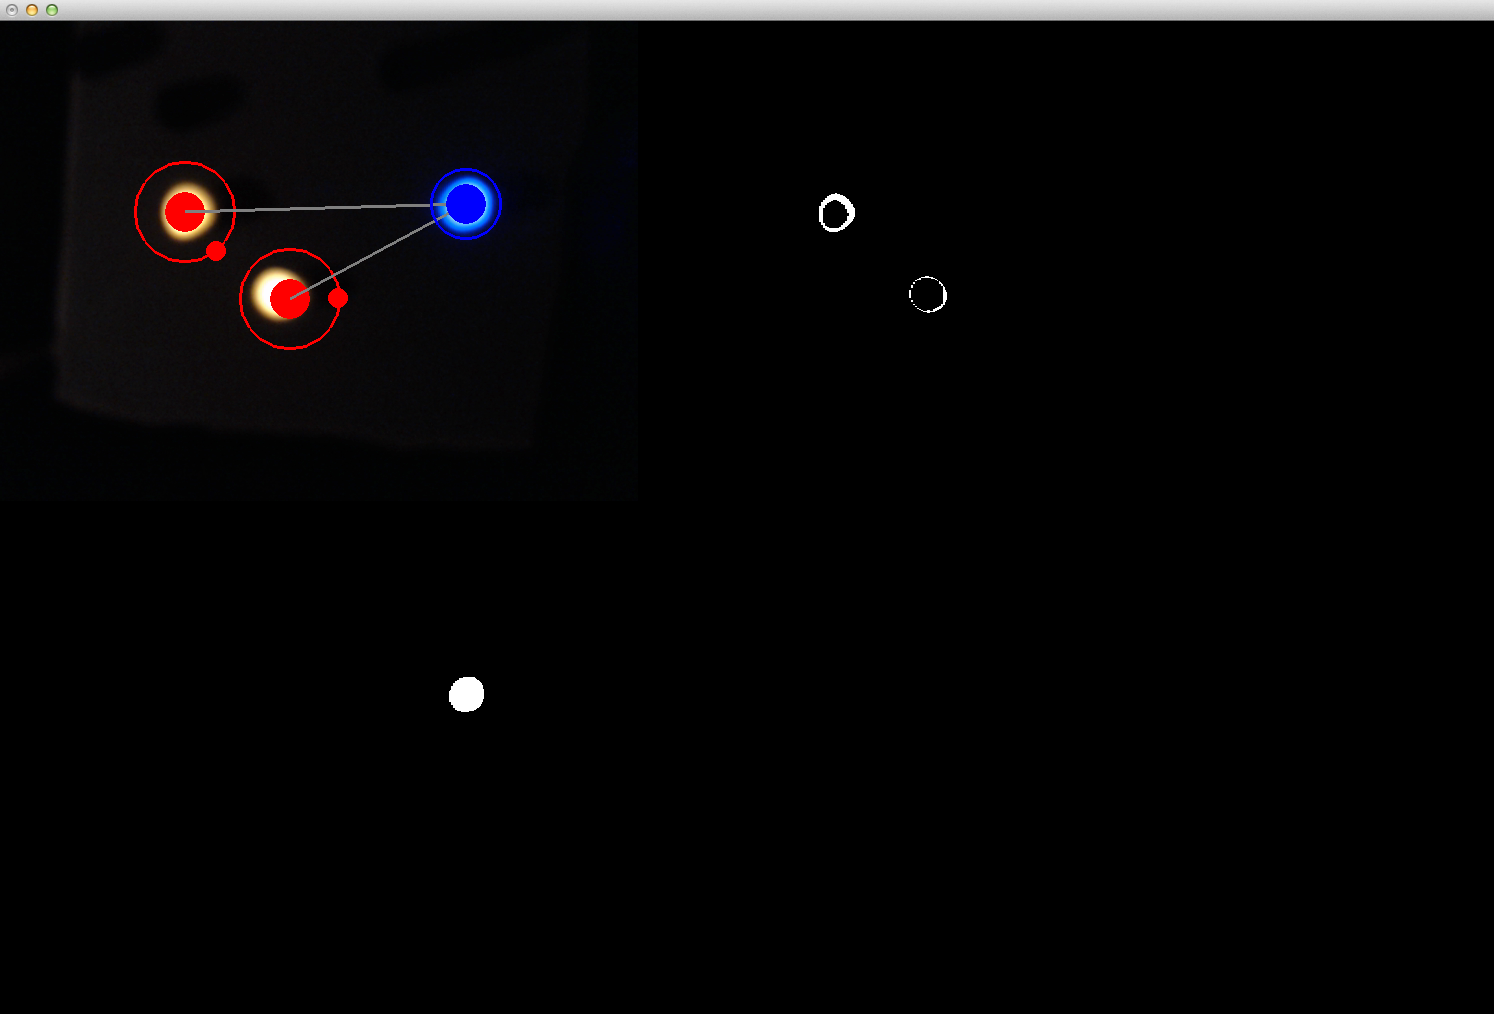
Camera Feed and Yellow/Blue maks
Ending Notes
I was actually surprised at how well the project worked overall despite a few hiccups here and there. There are a few caveats however. Adding or removing a node will force the program to re-instantiate redNode classes which can be a nuisance at times. I could also have written the code a bit better as well. Using vectors probably would have been a good tactic in situations like these and I will probably end up doing so in future revisions.
More Ending Notes
The sound revolver will be making an appearance at the Vancouver Mini Maker Faire in June 1 and 2!.

meoWS Thanks…
– Miss.T’s grade 3/4 class for taking on the challenge of naming this project.
– Mike N. for helping me build the table.