After a long hiatus, meoWS is back! There are a few projects lined up for this year which will touch on navigation and IMUs, analog electronics, clocks and perhaps some RF circuits. I hope to also work on some more projects involving software, especially iOS development so stay tuned for neat projects and potentially useful blog posts!
Today, I will show off some Christmas cards that I made for some friends. I have been experimenting with paper circuits for quite some time. My very first card consisted of a few LEDs, a microcontroller and some tracing paper to diffuse the LEDs. It didn’t do very special things other than flash pretty lights. Over time, each card had changes from the previous iterations.
https://vine.co/v/h2PhBYUYmaF
The above card was created two years ago for my friend’s birthday. I wanted to make the card such that one could blow out the “candles” (LEDs). I got the idea from this project from the High Low Tech group at the MIT Media Lab. Basically, a microphone was added to the card which was connected to an ATTiny85 microcontroller analog input. Depending on how hard the candles were blown, the card would either turn off (blow out) two LEDs/candles or all of them.This card used a much thicker, bristol board-type of backing as a “substrate” for the circuity. This was a huge improvement over the much thinner sketchpad type of paper used previously. The copper tape (traces) no longer experienced great stress from the card bending.
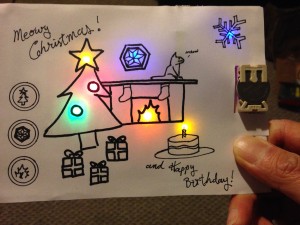
This card was made for the same friend last year. This card had three circular pads on the left that acted as capacitive touch switches to turn on different parts of the scene:
https://vine.co/v/O6wUzZ3pVE1
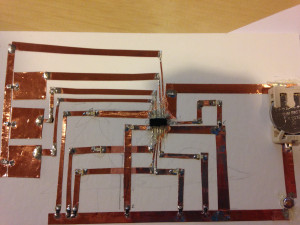
This card used the ATTiny84 microcontroller along with the Capsense library for the touch portion. The picture below shows the construction of the card. The three square pads to the left are the capacitive pads. I had to leave some of the ground traces visible near the power switch so that the thumb/finger turning on the switch also contacted the ground trace. Not doing this caused the capacitive sense to work unreliably, if not, at all:
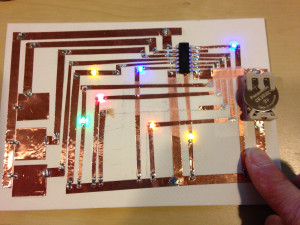
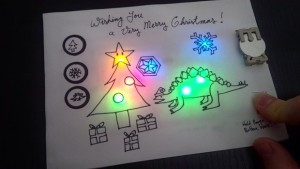
I made a similar card for my Secret Santa during the Reddit Holiday Card Exchange, this time with dinosaurs:
I experimented with using a SOIC package ATTiny84 for this card. Using the PDIP packages were convenient for programming since I could place the uC into a breadboard and pre-program it before soldering it onto the card but for a surface mount package, I needed to figure out another way to program them. Enter the SAP, the Super ATTiny84 Programmer. It is another paper circuit with copper tape laid down which would contact the relevant programming pins. All you had to do was to connect the SAP’s leads to the Pocket AVR Programmer, line up the uC’s leads onto the SAP’s copper pads, press down to make the leads and pads contact and then hit program.
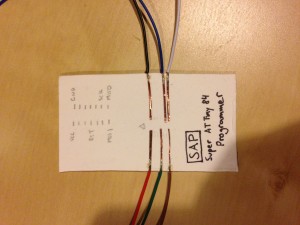
Using the SMT package reduced the sometimes unsightly bulges on the diffusing cover since its height is much smaller than a PDIP package. The traces had to be cut thinner but it was still workable.
Cutting the copper tape to size and laying them onto the paper backing is a very time consuming process. I am currently experimenting with some conductive ink that may cut down on most of the copper tape required. The main problems with using conductive ink are interfacing it with physical components and its resistance which is not nearly as good a copper. I hope to have a prototype circuit made with conductive ink soon.

